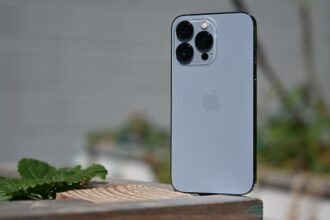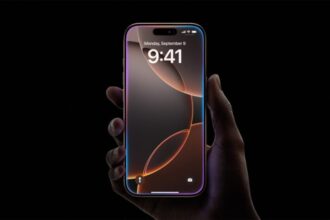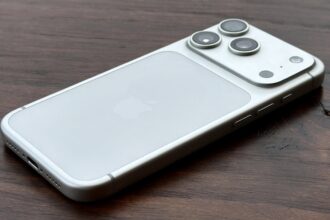
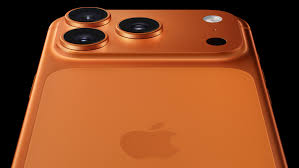

Apple made the Camera app easy to use for quick shots and also deep enough for careful photographers. The iPhone 17 Pro and iPhone 17 Pro Max have a powerful triple camera system and many new features. The phone gives you wide choices and fine control. This guide explains the controls the modes, and simple setups that will help you take better photos and videos.
Open and Shoot
There are many ways to open the Camera app. You can swipe left from the lock screen. You can tap the app icon on the home screen. You can press the Action Button or the Camera Control if you set that in settings. You can also start the Camera from Spotlight search by typing camera.
The main shutter button takes a photo. Tap it once to capture a still. Tap and hold to start a QuickTake video. Drag to the right to lock video recording. Press either volume button to take a photo. Hold a volume button to record video or to take a burst when that option is enabled in settings.
To burst, you need to press and drag the shutter to the left. You can tap on the thumbnail on the bottom left to look at what you have captured. You can half-press to focus, then press all the way to shoot with the Camera Control. The Camera Control has an option to open a third-party camera application. That is handy in programs which are more manual.
Zoom is preset and smooth zoom wheel. Quick changes in lenses: tap. Press and slide any of the presets to display the zoom wheel. The zoom wheel provides accurate control in the range between 0.5X and extremely high digital levels. The phone will automatically select the optimal lens when the lighting varies, so look at the display to see what lens is in use.
Focus and exposure are adjusted by tapping in the viewfinder. Tap and hold to lock them. By locking the exposure, the brightness can be manually adjusted by sliding either up or down. Or keep the lines straight using the grid and level in settings.
Pro Camera Controls
Photographic Styles apply looks at capture time. Choose a style that matches the tone you want. These styles change color and tone, but not the raw data if you use ProRaw. For most people, the HEIF format at 24MP gives a good balance of quality and file size. Switch to 48MP and RAW when you need maximum detail for editing.
Night Mode appears when the light is low. You can let the phone choose the length of the exposure or set it manually from the control panel. On a tripod, you can increase exposure time for cleaner results. Hand-held shots require shorter exposures to avoid blur.
Macro mode engages automatically when you get very close to a subject. You can disable auto macro and tap the tulip icon to enter the macro manually. Macro is great for texture and detail. Use it when you want very close focus, but be steady or use a small tripod.
Portrait mode gives depth effects and a live preview of lighting and aperture. You can shoot portraits in normal photo mode as well if you want Live Photo and more editing flexibility. Spatial capture records stereoscopic images for use on mixed reality displays. It works best when you hold the phone in landscape.
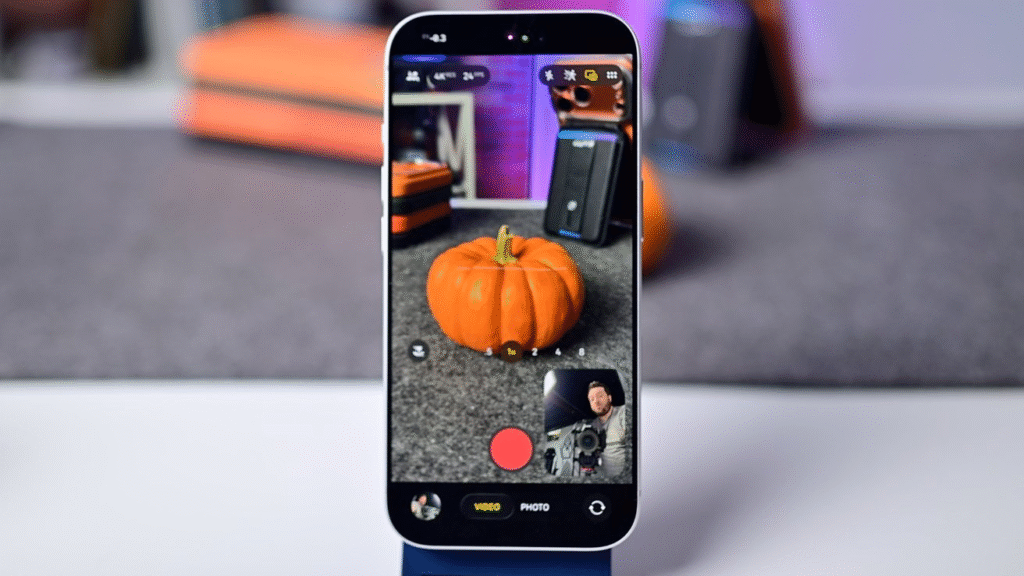
Video settings are at the top of the Camera app. For most cinematic work, use 4K at 24 frames per second. For smooth motion, use 4K at 60 frames per second. Action Mode gives superb stabilization at the cost of resolution. Dual Capture records front and rear cameras at the same time and saves one combined file. This is great for interviews and reaction videos.
Cinematic mode emulates a rack focus effect and lets you change focus after you record. Slo-mo and timelapse have their own controls. Use the microphone options in Control Center to switch input or to mute during capture.
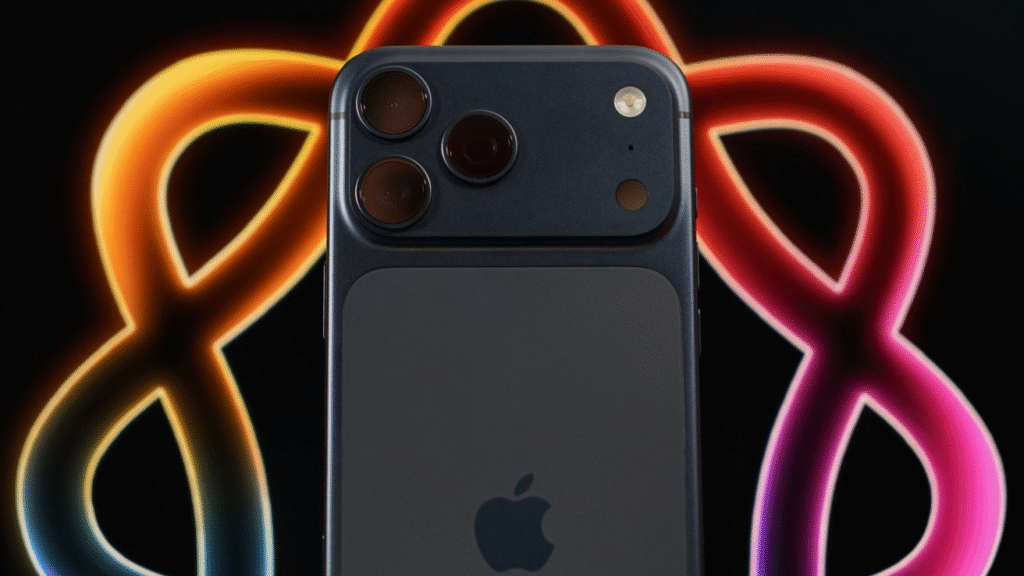
Extra settings live in Settings, then Camera. You can enable or hide ProRaw and 48MP choices. You can choose to preserve the last used mode so the app opens with the same settings you had before. Turn on the grid and the level for better composition. Set the file format to JPG if you need wide compatibility. Use ProRes only when you need high-quality video and when you have ample storage.
Practical workflow tips include clearing the lens before shooting using a soft cloth. Use the volume and physical buttons to reduce camera shake. When you plan a session, set the resolution and frame rate first so you avoid re-encoding later. Back up photos to cloud storage or offload them to a computer for long-term archiving.
What’s Next
The iPhone 17 Pro and iPhone 17 Pro Max Camera app can do a lot. Learn one setting at a time. Daylight first, then attempt night shots. Use the fast access to the Camera Control. Adjust the zoom and manual exposure until you get the image you desire. You will get much sharper snaps and smoother video with this powerful system with a few minor habits.