
Apple now keeps photos synced across devices with iCloud. That is useful, but it is not a substitute for a local backup. If a photo is deleted or your library becomes corrupted those changes can propagate to every device. A local copy protects your originals and gives you recovery options. The steps below explain how to set the right library, download full resolution originals, and make a reliable copy to external storage.
Set System Photo Library
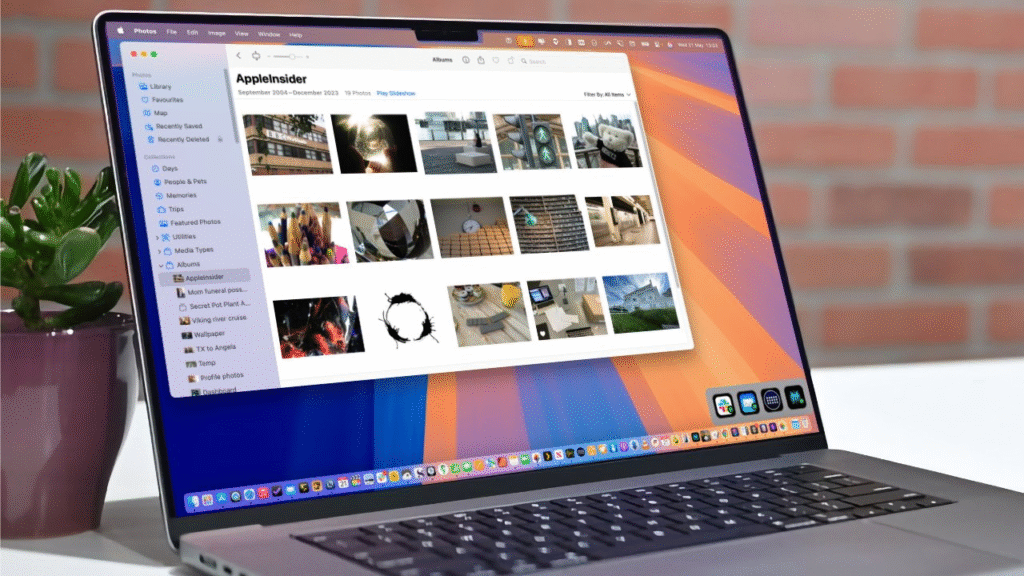
First confirm that your Mac is using the right Photos library. If it is not the System Photo Library iCloud features will not run on that library. Quit the Photos App. Hold the Option key and open Photos. In the Choose Library window pick the library you want. Then open Photos settings and choose Use as System Photo Library. That tells macOS that this is the library that iCloud should manage. This step avoids sync errors and the common message that iCloud features are not available.
Download Originals to Mac
In case you have iCloud Photos enable Download Originals to this Mac. Then in Open Photos click on Settings and the iCloud tab then switch Download Originals to this Mac. This causes Photos to download full resolution photos and videos to local storage. Tens or hundreds of gigabytes can be required to download based on how large your collection is. You should not disconnect your Mac as long as it is still on the power and to the network. In case your Mac does not have any space left use external disk as System Photo Library or clear up space temporarily to finish the download.
When originals are local you will have the true source files for every item. That matters if you need a pixel perfect copy for print or for archival use. It also gives you a complete library to copy for backup. Do not skip this step or your copy may contain only thumbnails and low resolution previews.
After you confirm the library contains originals quit Photos. On Finder open your Pictures folder and find the file with the name Photos Library.photoslibrary. Mark out an external drive that is either APFS or Mac OS Extended Journaled. Drag Photos Library.photoslibrary file into the external drive and wait till the copying is complete. Do not place the Mac to sleep or take the drive out in the process of the transfer. The halt of the copy may corrupt the backup. Once the transfer is complete you can have a complete copy that can be safely stored.
A few warnings are important. Do not use a Time Machine backup disk as the place where you store the active external copy. Apple warns that storing a Photos library on a Time Machine volume can create permission conflicts. If you want to open the library from the external drive set the drive to ignore ownership in Finder Get Info to avoid permission errors when Photos tries to open the file.
Use Time Machine too
Time Machine provides versioned backups that can restore older copies if you accidentally delete items later. If your Photos library is on the internal disk Time Machine will include it automatically in scheduled backups. That gives you a second recovery path in addition to your manual copy. If you later need to recover a specific version open Time Machine and restore the library to the date you choose. To be on the safe side have a manual external copy and routine Time Machine backups.
You do not have an external drive you can create a second volume in your internal disk to have an additional copy. Open Disk Utility and add an APFS volume and then drag Photos Library inside the volume. This guards against the unintentional editing of files and a few types of data corruption. It fails to safeguard against corporeal drive crash. Take this step as a temporary one and take an external disk where available.