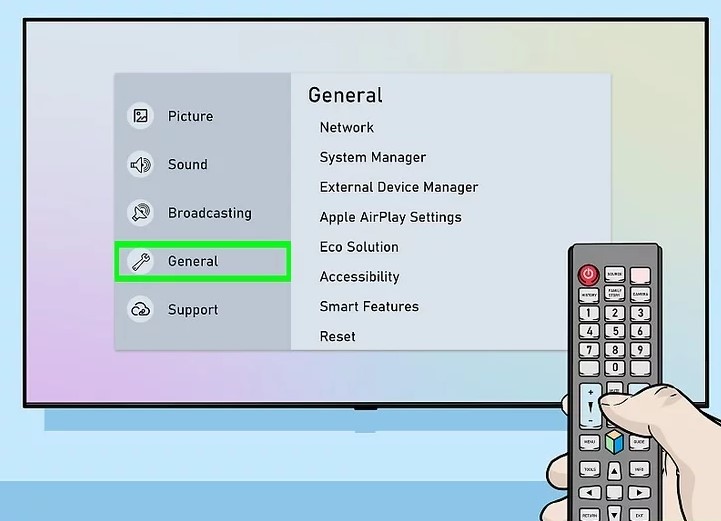
Nothing beats settling down for a cozy night of binge-watching your favorite shows, but when your Samsung TV refuses to connect to Wi-Fi, that dream can quickly turn into a nightmare. Fortunately, there are several easy ways to troubleshoot this issue and get your TV back online. So, let’s dive right into it!
1. Check Your Wi-Fi Network
First things first, make sure your Wi-Fi network is up and running. Sometimes, the issue might not be with your TV but rather with your internet connection. Here’s what to do:
- Check Other Devices: Grab your smartphone or laptop and see if they can connect to the Wi-Fi. If they can’t, it’s time to reboot your router.
- Restart the Router: Unplug your router, wait about 30 seconds, then plug it back in. This simple trick can work wonders!
Please follow us on Facebook and Twitter.
2. Restart Your Samsung TV
If your Wi-Fi connection is fine, the next step is to give your TV a fresh start. Restarting can often clear up minor glitches:
- Unplug the TV: Turn off your Samsung TV and unplug it from the power source. Wait for about 60 seconds, then plug it back in and turn it on.
3. Forget and Reconnect to Your Wi-Fi Network
Sometimes, your TV may have trouble connecting to a previously saved Wi-Fi network. Here’s how to clear that up:
- Go to Settings: Use your remote to navigate to the “Settings” menu.
- Network Settings: Select “Network,” then go to “Network Status.”
- Forget Network: Find your Wi-Fi network, select it, and choose the option to forget the network.
- Reconnect: After forgetting, go back to the “Network” menu, choose “Wi-Fi,” and reconnect by entering your password again.
4. Check for Software Updates
Outdated software can cause connection issues. Keeping your Samsung TV’s software updated is crucial for smooth performance:
- Settings Menu: Head back to the “Settings” menu.
- Support: Scroll down to “Support” and select “Software Update.”
- Update Now: If there’s an available update, go ahead and install it. This might resolve the connectivity problem.
5. Adjust Network Settings
If you’re still facing issues, you might need to tweak some network settings on your TV:
- IP Settings: Go to “Network Settings” and select “IP Settings.” Choose “Enter Manually” to input your IP address, subnet mask, and gateway. You can find these details on your router’s settings page.
- DNS Settings: Sometimes, changing your DNS settings can help. Instead of using the default DNS, try entering Google’s DNS: 8.8.8.8 and 8.8.4.4.
6. Check Distance and Obstacles
Believe it or not, the physical distance between your router and TV can play a role in connectivity. If your TV is far from the router or if there are many walls and obstacles in between, that could be the culprit.
- Move Closer: If possible, try moving your router closer to the TV or vice versa. You can also try to minimize any physical obstructions.
7. Use an Ethernet Cable
If you’re still struggling to connect wirelessly, consider using an Ethernet cable. This method provides a more stable and faster internet connection:
- Connect Directly: Plug one end of the Ethernet cable into your router and the other into the LAN port on your TV. Then, go back to the “Network” settings and select “Wired” to establish the connection.
Conclusion

Don’t let Wi-Fi woes ruin your movie night! By following these simple steps, you can get your Samsung TV connected to Wi-Fi in no time. Whether it’s restarting your devices, checking settings, or using a wired connection, there’s always a solution at hand. So, grab that remote, and let the streaming begin!


