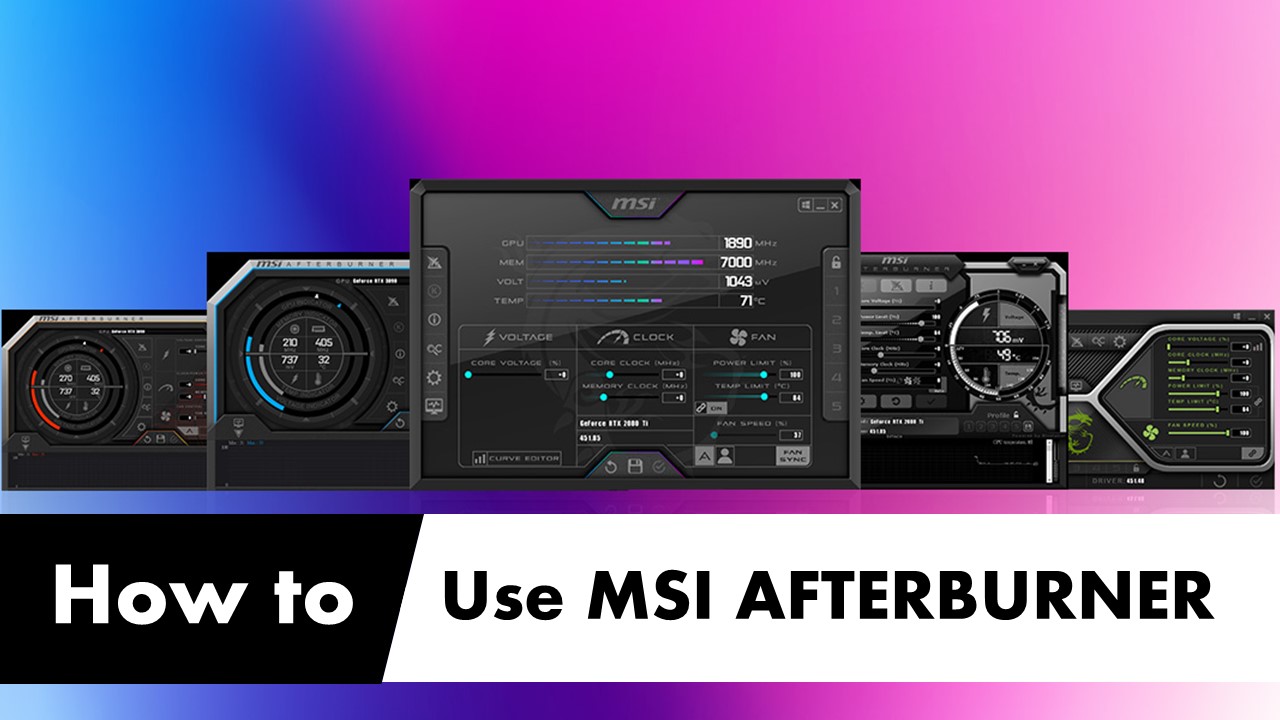
MSI Afterburner is among the best software for overclocking of GPUs and monitoring the temperature and speed of fans. It allows the optimization of GPU to fulfill the gaming requirements. MSI Afterburner is compatible with variety of graphic cards including NVIDIA, AMD and Intel.
The MSI Afterburner is very easy to use despite of excessive settings and options it offers. In this guide we have explained step by step guide of how to download, install, setup MSI Afterburner and how to use it for overclocking of GPU.
Please follow us on Twitter and Facebook
How to Download MSI Afterburner
- Begin at your desktop and open up Google Chrome.
- In the Google search bar, type in “MSI Afterburner.”

- Visit the official website by clicking on the URL “msi.com” that appears in the search results.

- Once on the Afterburner website, navigate to the main screen.

- Find the MSI Afterburner download link.
- Click on the download to start the download.
- A zip file will be downloaded.
- Allow the download to complete before proceeding to the next step.
How to Install MSI Afterburner
- Open the downloads folder after completion of the download.
- Locate the downloaded zip file.
- Copy the zip file to the desktop for easier access.
- Close any open windows.
- Extract all files from the zip folder onto the desktop.

- Run the extracted installation file as an administrator.
- Choose the default language (English) and click “Next.”
- Accept the user agreement by checking the box and clicking “Next.”
- Leave all options as default, including installing Rivatuner.

- Click “Next” to proceed with the installation.
- Confirm the default installation folder and name and click “Install.”

- Wait for MSI Afterburner to install.
- Proceed with the installation of Rivatuner when prompted.
- Click “OK” to confirm installing Rivatuner.
- Accept the agreement for Rivatuner and click “Next.”
- Leave the default folders and names unchanged, or modify as necessary, then click “Next.”
- Allow the extraction and installation of files to complete.
After completing the installation process, you have the option to uncheck the readme unless you desire to read all the documentation. Click on “Finish” to finalize the installation. Afterwards, uncheck the readme if you haven’t already done so, and proceed to run MSI Afterburner. Upon launching the program, you’ll encounter the default layout and skin. You can customize the appearance to your preference by accessing the settings. Additionally, if you wish to monitor real-time data of your computer’s performance, you can delve into the customized settings to take a live look at what’s happening on your system.
How to Setup MSI Afterburner & On Screen Display
To take a live look at what’s happening on your computer, simply click on the monitor button within MSI Afterburner. This feature provides detailed information about each individual component, offering insights into frame rates, core temperatures, CPU speeds, and any other pertinent data regarding your system’s performance.

While it may seem like overkill at times, this monitoring tool proves invaluable when troubleshooting potential issues. Moving on to the settings, excessive options await customization. Within this section, users can fine-tune various aspects of the tool to suit their preferences and needs. Here is the step-by-step guide of how-to setup MSI Afterburner for monitoring and on screen display:
- Start up your computer.
- Open MSI Afterburner.
- In the “General” properties, select “Start with Windows” and “Start Minimized” to ensure it runs in the background and is easily accessible.

- Navigate to the “Monitoring” section.

- Enable or disable various features you want to monitor by checking or unchecking the corresponding checkboxes.
- Activate the features you want to monitor to display them in the monitoring tool.
- Choose the on-screen display options as needed by checking or unchecking the checkboxes.
- Ensure to include the frame rate (FPS) for monitoring.

- Enable the on-screen display option by selecting it and checking the checkbox to activate the feature.
- Access Rivatuner and select the features you want to display on-screen during gameplay.
- Select the desired options such as GPU, frame rate, CPU temperatures, and individual core temperatures by checking the respective checkboxes.

- Once selected, these features will be displayed on-screen during gameplay for easy monitoring.
How to Overclock Your GPU with MSI Afterburner
Following is the step by step guide to overclock your GPU with MSI Afterburner overclocking your GPU using MSI Afterburner. The core voltage hasn’t been adjusted in this guide to keep the process very easy and risk free:
- Open MSI Afterburner and navigate to settings.
- Ensure you’re using a custom fan curve by enabling the user-defined software.
- Adjust the fan curve to balance temperature and noise levels.

- Set the power limit to maximum to prevent GPU throttling.

- Next, adjust the memory clock. Start with a small increase, like 50, and apply the settings.

- Run a benchmark test (e.g., 3D Mark Speedway Benchmark) to check stability and performance.

- If stable, gradually increase the memory clock in increments of 50 and retest until instability occurs.
- Once you find a stable memory clock, move on to adjusting the core clock.
- Increase the core clock in small increments, such as 41, and apply the settings.
- Run the benchmark again to ensure stability and improved performance.
- Repeat the process of increasing the core clock until instability occurs, then reduce slightly for stability.

- Monitor GPU temperature to ensure it stays within safe limits (around 75-80°C).
- Save the overclock settings to a profile for easy access.

- Optionally, set the profile to apply at Windows startup.
- If needed, use the reset button to revert to default settings.
Read Also:
How to Update MSI BIOS Using M-Flash and Flash Button Methods


